Showing posts with label GART704. Show all posts

Week 26 - Reflective Journal

This week, I finished my final paintings, adding smaller details, fog, and texture.

Fig. 1: Spence, 2023. Adding Detail.

Fig. 2: Spence, 2023. Final Day Scene Painting.

Fig. 3: Spence, 2023. Night Scene Lineart.

Fig. 4: Spence, 2023. Night Scene Grayscale.

Fig. 5: Spence, 2023. Night Scene Colours.

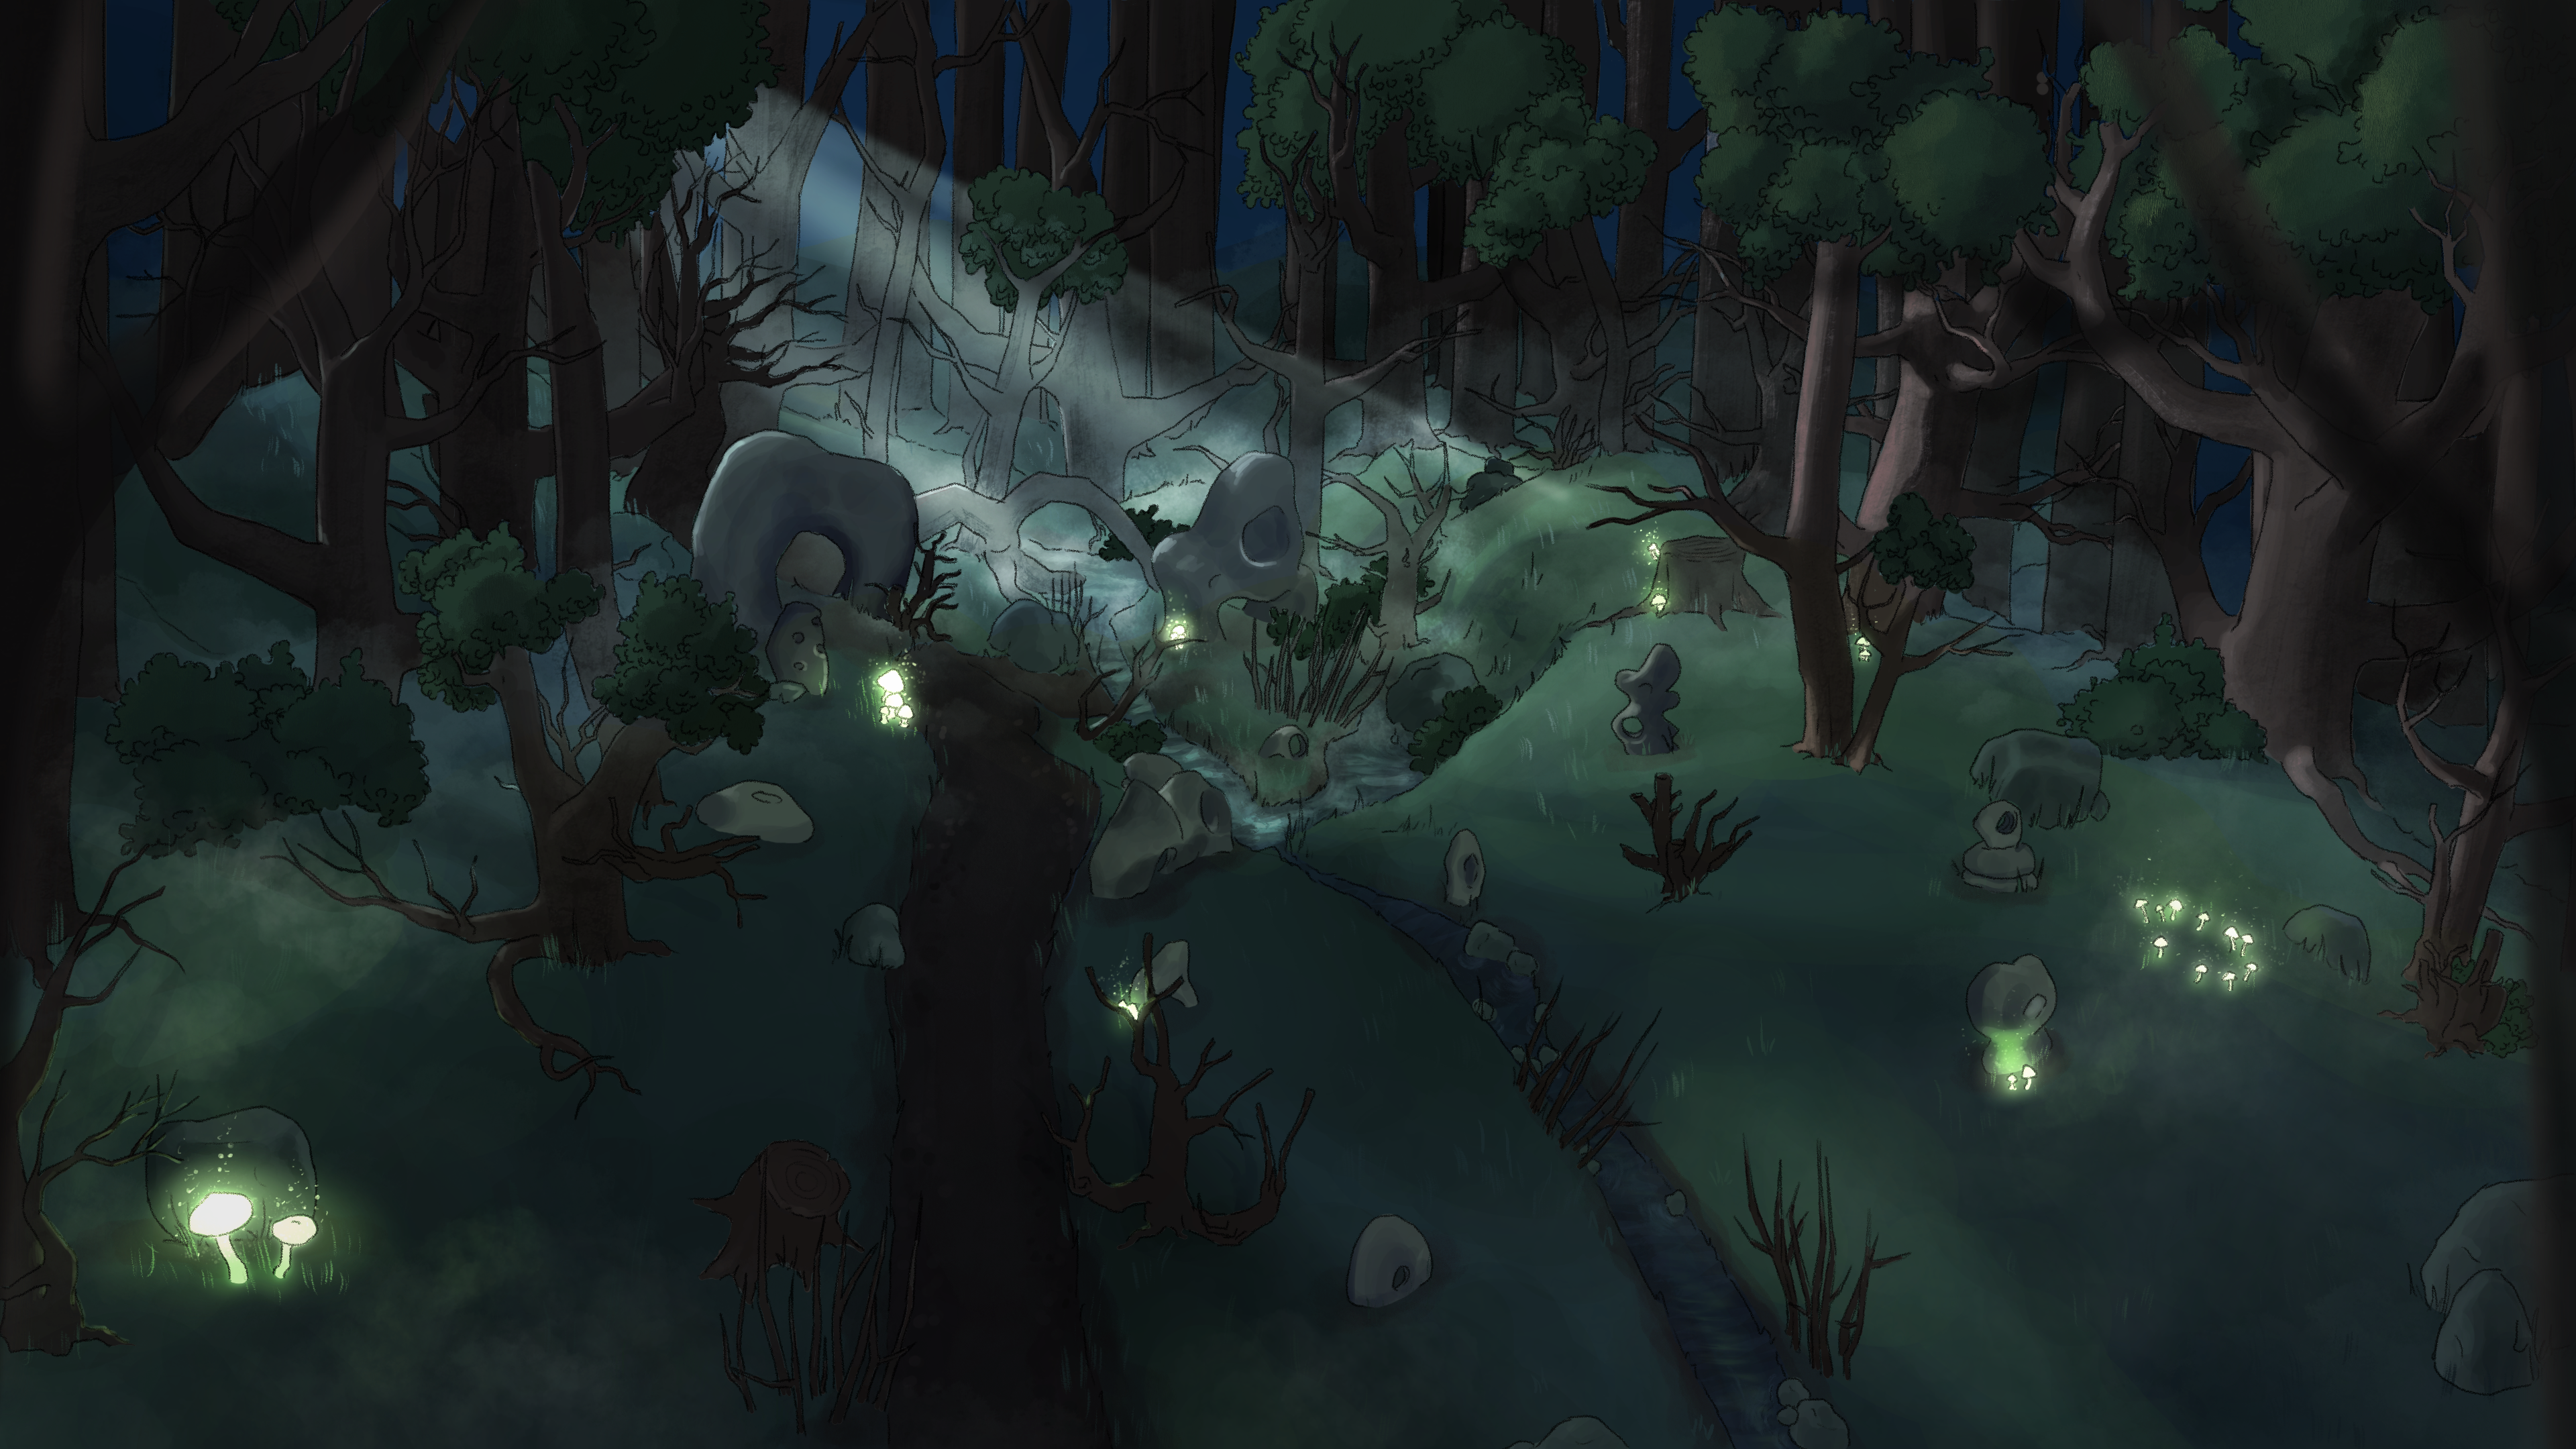
Fig. 6: Spence, 2023. Final Night Scene Painting.

References:

Images:

Figure 1. SPENCE, Nel. 2023. Adding Detail. Private Collection: Nel Spence

Figure 2. SPENCE, Nel. 2023. Final Day Scene Painting. Private Collection: Nel Spence

Figure 3. SPENCE, Nel. 2023. Night Scene Lineart. Private Collection: Nel Spence

Figure 4. SPENCE, Nel. 2023. Night Scene Grayscale. Private Collection: Nel Spence

Figure 5. SPENCE, Nel. 2023. Night Scene Colours. Private Collection: Nel Spence

Figure 6. SPENCE, Nel. 2023. Final Night Scene Painting. Private Collection: Nel Spence

Week 25 - Reflective Journal

This week I focused on starting to paint over screenshots of my scene, to create the final concepts and lighting set ups. 

Fig. 1: Spence, 2023. Paint Over - Lines.

Fig. 2: Spence, 2023. Paint Over - Gradients.

Fig. 3: Spence, 2023. Paint Over - Colours.

I've also been working on my final video, taking some short renders of my scenes in Maya. I was surprised to find in my night scene that rendering 2.5 seconds worth of footage at 24fps, in 720p, was taking up to four hours due to the number of lights. Below are screenshots of the number of lights in my night scene (fig. 4), compared to my day scene (fig. 5).

Fig. 4: Spence, 2023. Night Scene Lights.

Fig. 5: Spence, 2023. Day Scene Lights.

The bulk of the lights in my night scene are on the mushrooms, which are mesh lights, but also have point lights for added glow. The directional lights are adding more colour to the scene (without shadow), with one later being removed and replaced with a spotlight to immitate "god rays" from the moonlight.

Fig. 6: Spence, 2023. Day Scene Video Screenshot.

Fig. 7: Spence, 2023. Night Scene Video Screenshot.

Overall, I think my scenes have come together quite well, and I'll hopefully get some good footage for the final video.


References:

Images:

Figure 1. SPENCE, Nel. 2023. Paint Over - Lines. Private Collection: Nel Spence.

Figure 2. SPENCE, Nel. 2023. Paint Over - Gradients. Private Collection: Nel Spence.

Figure 3. SPENCE, Nel. 2023. Paint Over - Colours. Private Collection: Nel Spence.

Figure 4. SPENCE, Nel. 2023. Night Scene Lights. Private Collection: Nel Spence.

Figure 5. SPENCE, Nel. 2023. Day Scene Lights. Private Collection: Nel Spence.

Figure 6. SPENCE, Nel. 2023. Day Scene Video ScreenshotPrivate Collection: Nel Spence.

Figure 7. SPENCE, Nel. 2023. Night Scene Video ScreenshotPrivate Collection: Nel Spence.

Week 24 - Reflective Journal

This week I continued lighting tests in Maya, as well as filling out my scenes with more foliage and adding sky dome lights. I have the option to add images to the sky dome, but may look into painting my own colour gradient instead.

Seeing how the glowing mushrooms worked in the scene helped me determine where to add more. For the night scene, each mushroom has a mesh light to match, as well as point lights to add more glow and help reflect the green off nearby objects. 

I also threw in a plane as a placeholder for water, and may look into using a different materal to help imitate the way light would reflect.

Fig. 1: Spence, 2023. Night Scene Render

Looking at my day scene (fig. 2), it was looking too blue, leaning towards early morning or dusk. I played with intensifying the orange/yellow directional light, before adding a pink directional light to imitate the colours in my paint over from my previous post (fig. 3).

Fig. 2: Spence, 2023. Day Scene Render

Fig. 3: Spence, 2023. Day Scene Render with Pink Light

The pink light added more warmth and improved the scene's overall lighting.

As seen in fig.1 and fig.2, I tried adding a sphere with mesh light in to act as a moon, but found it troublesome to work out, as for some reason it behaved differently to the mesh lights I'd applied to the mushrooms. The light would stay visible in the day scene (fig.2), despite being on the hidden layer with the rest of the night lights, and the mesh light would have no effect, regardless of intensity or exposure. If time allows, I may work through more tutorials to make this work in my night scene renders.

Fig. 4: Spence, 2023. Fog Tests in Maya

I briefly experimented with adding fog to my scene, which I like the look and atmosphere of. I would like to use fog in my final renders and painting, so will do more work into experimenting with it.

Another reason to add fog would be to improve the lighting and not have the entire scene be too dark, the same reason for which I have a blue sky dome and not black. In films such as Mad Max: Fury Road (2015), the night scenes have a blue overlay (fig.5), as these scenes were filmed during daylight in order to maintain good lighting, then made to appear as night time in editting. 

Fig. 5: Buchanan, 2020. Mad Max: Fury Road Night Scene

Other night scenes in films like Harry Potter and the Philosopher's Stone (2001) and Ghost (1990). The scene in fig.6 from Harry Potter uses a blue tint, as well as fog which reflects what is supposedly moonlight. The lamp also creates a "hard" light, that brightly lights subjects close to it, but diffuses on subjects further away, creating the illusion of surrounding darkness -- this is a technique I'm attempting to replicate in my own night scene with the glowing mushrooms.

In Ghost, outdoor night scenes are seemingly always wet, as the moisture reflects light, adding more contrast and bounce light. 

Fig. 6: Paar, 2018. Harry Potter Night Scene

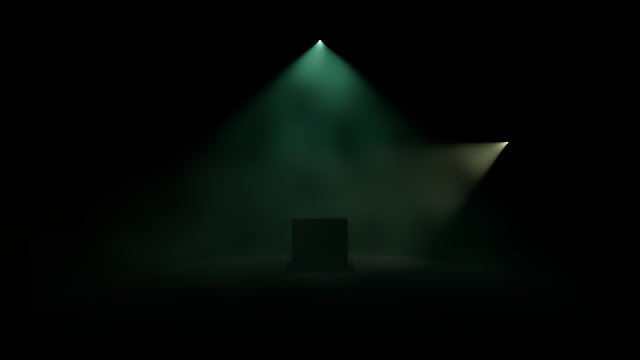
I followed some YouTube tutorials by Academic Phoenix Plus on adding fog to Arnold renders. Using the aiAtmosphereVolume and a spotlight, I tested lighting a plane and cube, changing the cone size of the spotlight, harshness of the edges, etc.

Fig. 7: Spence, 2023. Fog + Spotlight Test

Fig. 8: Spence, 2023. Fog + Spotlight Test (2)

After these tests I applied the fog to my night scene, and added a spotlight in to imitate moonlight with some minor "god rays".

Fig. 9: Spence, 2023. Fog in Night Scene

Fig. 10: Spence, 2023. Adding Spotlight and Trees

For the day scene, I started by filling out the scene background more and changing the lighting slightly - mainly small changes in intensity and changing the skydome colour to have a more purple tone.

Fig. 11: Spence, 2023. Filling Day Scene

I also changed the water texture to a blinn, that reflected parts of the scene near the water. Adding an intense spotlight imitated an offscreen sunset, and putting fog in the distant trees created an idea of approaching darkness/nightfall.

Fig. 12: Spence, 2023. Sunset Light and Fog

I also changed the depth of field in both day and night scenes and tried to keep a middle area of focus to draw the eye.

Fig. 13: Spence, 2023. Night Scene with DOF

Fig. 14: Spence, 2023. Night Scene Comparison with Early Render

Next week my plan to draft camera movement in my scenes and make headway with the paintings.


References:

Images:

Figure 1. SPENCE, Nel. Night Scene RenderPrivate Collection: Nel Spence

Figure 2. SPENCE, Nel. Day Scene RenderPrivate Collection: Nel Spence

Figure 3. SPENCE, Nel. Day Scene Render with Pink LightPrivate Collection: Nel Spence

Figure 4. SPENCE, Nel. Fog Tests in Maya. Private Collection: Nel Spence

Figure 5. BUCHANAN, Kyle. 2020. Mad Max: Fury Road Night Scene. The New York Times [online]. Available at: https://www.nytimes.com/2020/05/12/movies/mad-max-fury-road-oral-history.html [Accessed on: 01/03/2023]

Figure 6. PAAR, Morgan. 2018. Harry Potter Night Scene. Videomaker [online]. Available at: https://www.videomaker.com/light-the-night-how-to-light-a-realistic-night-scene/ [Accessed on: 28/02/2023]

Figure 7. SPENCE, Nel. Fog + Spotlight TestPrivate Collection: Nel Spence

Figure 8. SPENCE, Nel. Fog + Spotlight Test (2)Private Collection: Nel Spence

Figure 9. SPENCE, Nel. Fog in Night ScenePrivate Collection: Nel Spence

Figure 10. SPENCE, Nel. Adding Spotlight and TreesPrivate Collection: Nel Spence

Figure 11. SPENCE, Nel. Filling Day ScenePrivate Collection: Nel Spence

Figure 12. SPENCE, Nel. Sunset Light and FogPrivate Collection: Nel Spence

Figure 13. SPENCE, Nel. Night Scene with DOFPrivate Collection: Nel Spence

Figure 14. SPENCE, Nel. Night Scene Comparison with Early Render. Private Collection: Nel Spence

Week 23 - Reflective Journal

This week I started adding base colours to my environment and experimented with lighting. I started with a blue ambient light (sky) and orange directional light (sun) that would cast shadows in the day scene (fig.1). For the night scene, I started with a deep blue ambient light (night sky) and a white/light blue directional light (the moon).

Fig. 1: Spence, 2023. Day Time Scene

Fig. 2: Spence, 2023. Night Time Scene

After these inital lighting tests, I decided to render using Arnold, which would allow me to use other lights such as the Sky Dome. Before adding this, I added a few more directional lights and removed the ambient lights. I also experimented with adding a glow to the mushrooms in the night scene.

Fig. 3: Spence, 2023. Day Scene Arnold Render

Fig. 4: Spence, 2023. Night Scene Arnold Render

I then did a couple of rough concept paintings over a screenshot of one of my camera angles, testing more colours and adding to the background. I found a slight pink overlay helped flesh out the scene, and might add this to my final render to create an atmosphere leaning towards early sunset.

Fig. 5: Spence, 2023. Day Scene Quick Painting

Fig. 6: Spence, 2023. Night Scene Quick Painting

My aim for the night scene is to use the mushroom glow and moonlight to make the scene visible but maintain dark aspects. I also want to test adding fog to the scene.

Thinking about environment painting, I thought back to lessons at the beginning of my undergraduate course with Jordan Buckner. Some of the basics Jordan taught us were having darker areas to frame the image near the front, and desaturating and lightening far away objects to give the illusion of distance. Examples of this are prevalent in Jordan's work (fig.7+8).

Fig. 7: Buckner, 2020. canals

Fig. 8: Buckner, 2015. Untitled

Adding these basics to my rough image adds dimension to the scene, frames it nicely, and highlights a focal point to draw the eye.

Fig. 9: Spence, 2023. Adding Dimension


References:

Images:

Figure 1. SPENCE, Nel. 2023. Day Time Scene. Private Collection: Nel Spence

Figure 2. SPENCE, Nel. 2023. Night Time ScenePrivate Collection: Nel Spence

Figure 3. SPENCE, Nel. 2023. Day Scene Arnold RenderPrivate Collection: Nel Spence

Figure 4. SPENCE, Nel. 2023. Night Scene Arnold RenderPrivate Collection: Nel Spence

Figure 5. SPENCE, Nel. 2023. Day Scene Quick PaintingPrivate Collection: Nel Spence

Figure 6. SPENCE, Nel. 2023. Night Scene Quick PaintingPrivate Collection: Nel Spence

Figure 7. BUCKNER, Jordan. 2020. canalsjordan_buckner [online]. Available at: https://www.jordanbuckner.co.uk/bpydm3dt82twfxno8scoipwl5c9uad [Accessed on: 01/03/2023]

Figure 8. BUCKNER, Jordan. 2015. Untitled. jordan_buckner [online]. Available at: https://www.jordanbuckner.co.uk/bavlzfv10xccji31nmsb6uhen7qerg [Accessed on: 01/03/2023]

Figure 9. SPENCE, Nel. 2023. Adding Dimension. Private Collection: Nel Spence

Week 22 - Reflective Journal

 This week I mainly focused on my block-out in Maya, trying to fill the space appropriately. I also added some directional and ambient lighting, and played with the intensity of each. As the set fills more, I feel more prepared to begin more lighting tests.

Fig. 1: Spence, 2023. Maya Block-Out
Fig. 2: Spence, 2023. Maya Block-Out (2)

This week also featured my first delve into Unreal Engine, though I found it difficult to get to grips with at first, and may need to work in a different space with a computer that can run the engine more successfully, as my tests with it were slow and made it difficult to control. Another option would be testing out Unity, which I feel is more popular with my peers, though with the time I have left I am leaning towards creating 2D pieces.

Fig. 3: Spence, 2023. Camera Angle Test

Fig. 4: Spence, 2023. Camera Angle Test (2)

I also tested some camera angles (above) for potential screenshots and/or 2D paintings.

Currently, I'm gathering references of woodland areas for a better look at textures and lighting.

Fig. 5: Spence, 2023. PureRef Board


References:

Images:

Figure 1. SPENCE, Nel. 2023. Maya Block-Out. Private Collection: Nel Spence

Figure 2. SPENCE, Nel. 2023. Maya Block-Out (2). Private Collection: Nel Spence

Figure 3. SPENCE, Nel. 2023. Camera Angle Test. Private Collection: Nel Spence

Figure 4. SPENCE, Nel. 2023. Camera Angle Test (2)Private Collection: Nel Spence

Figure 5. SPENCE, Nel. 2023. PureRef Board. Private Collection: Nel Spence

Week 21 - Reflective Journal

During a walk around Crantock this week, I noticed a patch of land that was visually similar to what I had in mind for my environment, so I took a few photos I could use as reference. The distribution of the foliage and types of plants growing could help inform my decisions throughout the module. 

Fig. 1: Spence, 2023. Crantock

One of the things I'm finding difficult so far is working out how to fill the space to appear like an area that could exist. I'm considering ground textures, debris, and making signs of areas that have been walked through.

Fig. 2: Spence, 2023. Crantock (2)

Fig. 3: Spence, 2023. Maya Block-Out

This week ended up being somewhat busy for me with family visiting, but I made some progress on my block-out in Maya and completed adding details to my models in ZBrush.


References:

Images:

Figure 1. SPENCE, Nel. 2023. Crantock. Private Collection: Nel Spence

Figure 2. SPENCE, Nel. 2023. Crantock (2). Private Collection: Nel Spence

Figure 3. SPENCE, Nel. 2023. Maya Block-Out. Private Collection: Nel Spence

Week 20 - Reflective Journal

This week I started refining the stones more in ZBrush, looking at details found in real hag stones (fig.1) such as small holes and scratches.

Fig. 1: Unknown Maker. Hag Stones on String

I need to begin considering how I want to do the textures on these models. As I'll most likely be using pre-made assets, I would want the more realistic textures on the assets to match my stones. I've considered a stylised approach, which give some freedom with my texture work.

Fig. 2: Spence, 2023. Hag Stone Details (1)

Fig. 3: Spence, 2023. Hag Stone Details (2)

Fig. 4: Spence, 2023. Hag Stone Details (3)

The rocks so far could go either way, towards realism or stylised. For inspiration, I'm primarily looking at Firewatch (2016) for a stylised approach, and Dragon Age: Inquisition (2014) for realism.

Fig. 5: Firewatch (2014). Firewatch Waterfall.

Fig. 6: Tzvetanov, 2016. Dragon Age Inquisition - highland rocks / vista cliffs.

There will be other rocks in my environment that are different from the hag stones - regular rocks that were already there. The distinct difference is that the hag stones have been shaped by their sea environment. 

Fig. 7: Spence, 2023. Hag Stone Progress (1)

Fig. 8: Spence, 2023. Hag Stone Progress (2)

Fig. 9: Spence, 2023. Hag Stone Progress (3)

Fig. 10: Spence, 2023. Environment Block-Out

I also began blocking out a potential layout for my environment to get a rough idea of how to fill the space. I will be basing this on some early rough sketches of my scene (fig. 11). 

Fig. 11: Spence, 2023. Rough Environment Sketches


References:

Images:

Figure 1. Unknown Maker. Hag Stones on String. St Margarets [online]. Available at: https://stmargarets.london/archives/2015/06/the_magical_hag_stones_of_the_river_crane.html [Accessed on: 31/01/2023]

Figure 2. SPENCE, Nel. Hag Stone Details (1). Private Collection: Nel Spence

Figure 3. SPENCE, Nel. Hag Stone Details (2). Private Collection: Nel Spence

Figure 4. SPENCE, Nel. Hag Stone Details (3). Private Collection: Nel Spence

Figure 5. Firewatch (2014). Firewatch Waterfall. [in-game screenshot]. Game Reviews AU [online]. Available at: https://gamereviewsau.com/firewatch-review/2/ [Accessed on: 01/02/2023]

Figure 6. TZVETANOV, Dimitar. 2016. Dragon Age Inquisition - highland rocks / vista cliffs. ArtStation [online]. Available at: https://www.artstation.com/artwork/Rq8XW [Accessed on: 01/02/2023]

Figure 7. SPENCE, Nel. Hag Stone Progress (1)Private Collection: Nel Spence

Figure 8. SPENCE, Nel. Hag Stone Progress (2). Private Collection: Nel Spence

Figure 9. SPENCE, Nel. Hag Stone Progress (3). Private Collection: Nel Spence

Figure 10. SPENCE, Nel. Environment Block-Out. Private Collection: Nel Spence

Figure 11. SPENCE, Nel. Rough Environment Sketches. Private Collection: Nel Spence

Week 36+37 - Reflective Journal - GAM705

 We are now onto our major project, and final module. The year is coming to an end, and my aim is now to create work to add to my portfolio ...